Annotation & ROIs
Annotation in HSI Studio produces a mask — a per-pixel class assignment laid over the cube. It's the input to supervised training, to class statistics, and to every masked export.
Tools
| Tool | Key | What it does |
|---|---|---|
| View | V | Pan and inspect without editing |
| Brush | B | Paint the active class |
| Eraser | E | Clear pixels back to unlabelled |
| Polygon | P | Click vertices, close the shape to fill |
| Lasso | L | Freehand outline, filled on release |
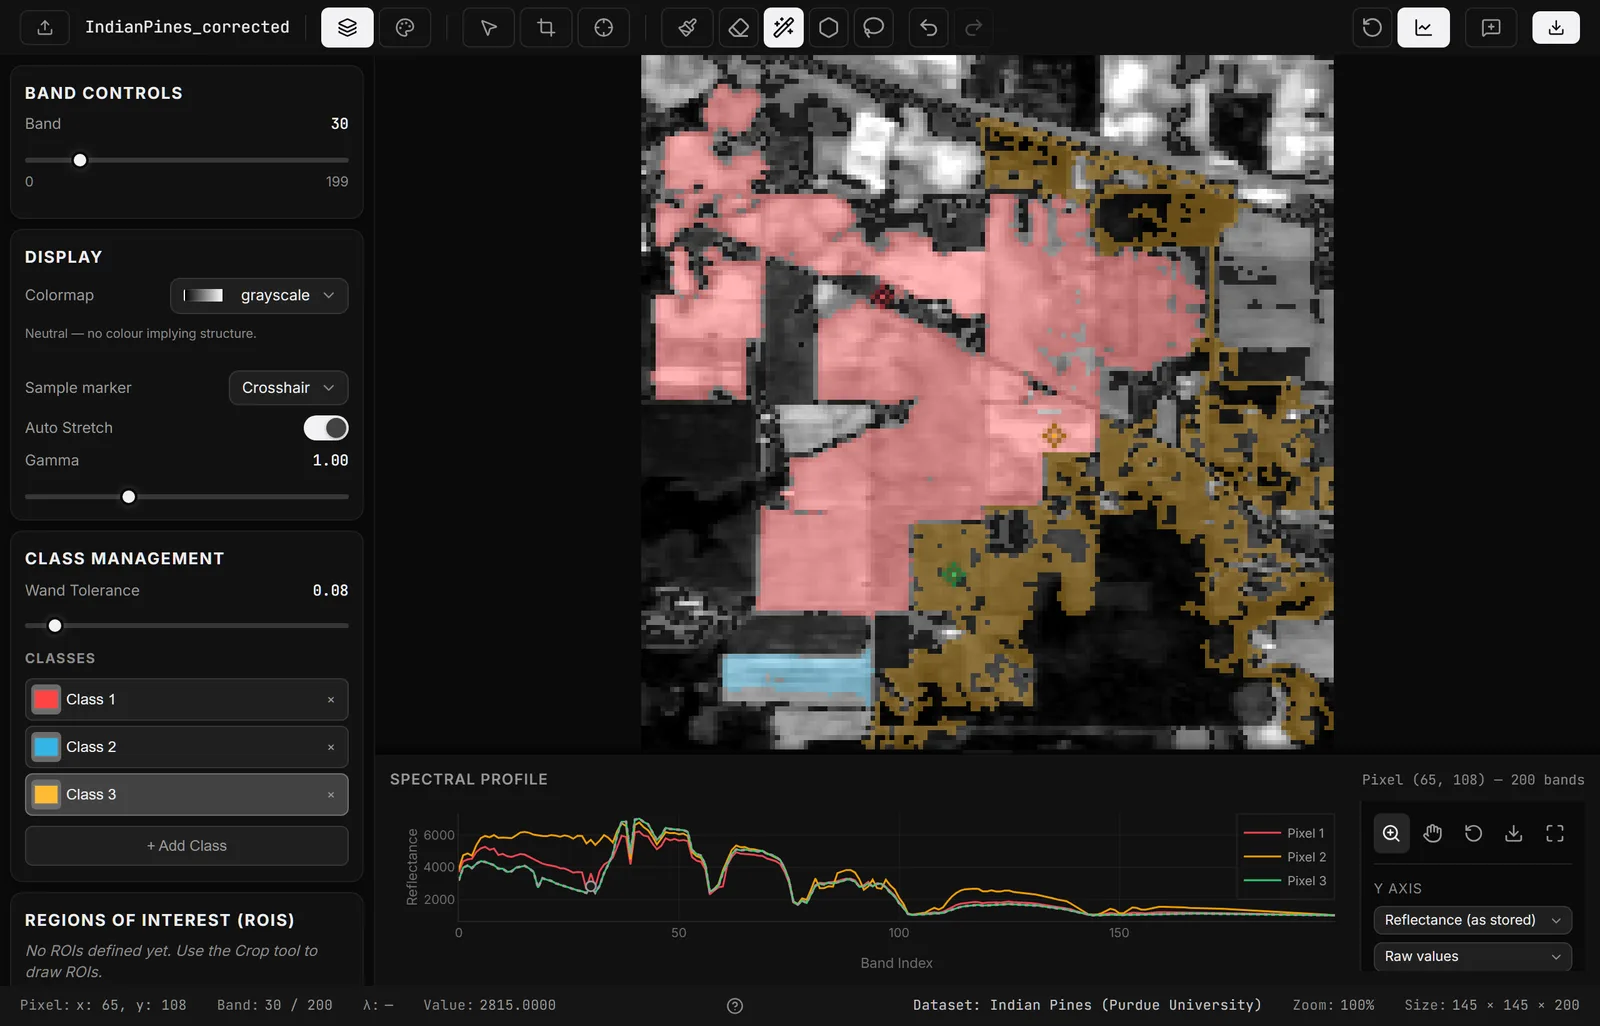
| Magic Wand | — | Click a pixel, select everything spectrally similar |
| Crop / Rectangle | C | Drag a rectangle to define a sub-region |
Brush size is adjustable with [ / ] (or - / +), from 1 to 100 pixels, and has a hardness setting — a hard brush writes a binary mask, a soft brush feathers the edge.
The Magic Wand
This is the tool that makes hyperspectral annotation practical. Click a pixel and the wand selects every connected pixel whose full spectrum is within a tolerance of the one you clicked — not just similar in brightness or colour, but similar across all bands.
Tolerance is adjustable. Start low and increase it until the selection covers the material without bleeding into its neighbours. Because it compares whole spectra, it separates materials that look identical in RGB.
Classes
Each class has an id, a name and a colour drawn from a built-in palette. The active class is what the brush, polygon, lasso and wand write. Classes are carried through:
- Class statistics (mean spectrum per class)
- Supervised training, in the browser and in the ML Hub
- CSV export, as a
Classcolumn and optionally aClass_Namecolumn .hzproject files and JSON export
Mask overlay can be toggled and its opacity adjusted, so you can check your labels against the underlying image.
Undo / redo — Ctrl/Cmd+Z and Ctrl/Cmd+Y (or Shift+Ctrl+Z). The mask history is independent of anything else in the app.
Background handling
Many captures include a tray, a conveyor, or a saturated backdrop that isn't part of the subject.
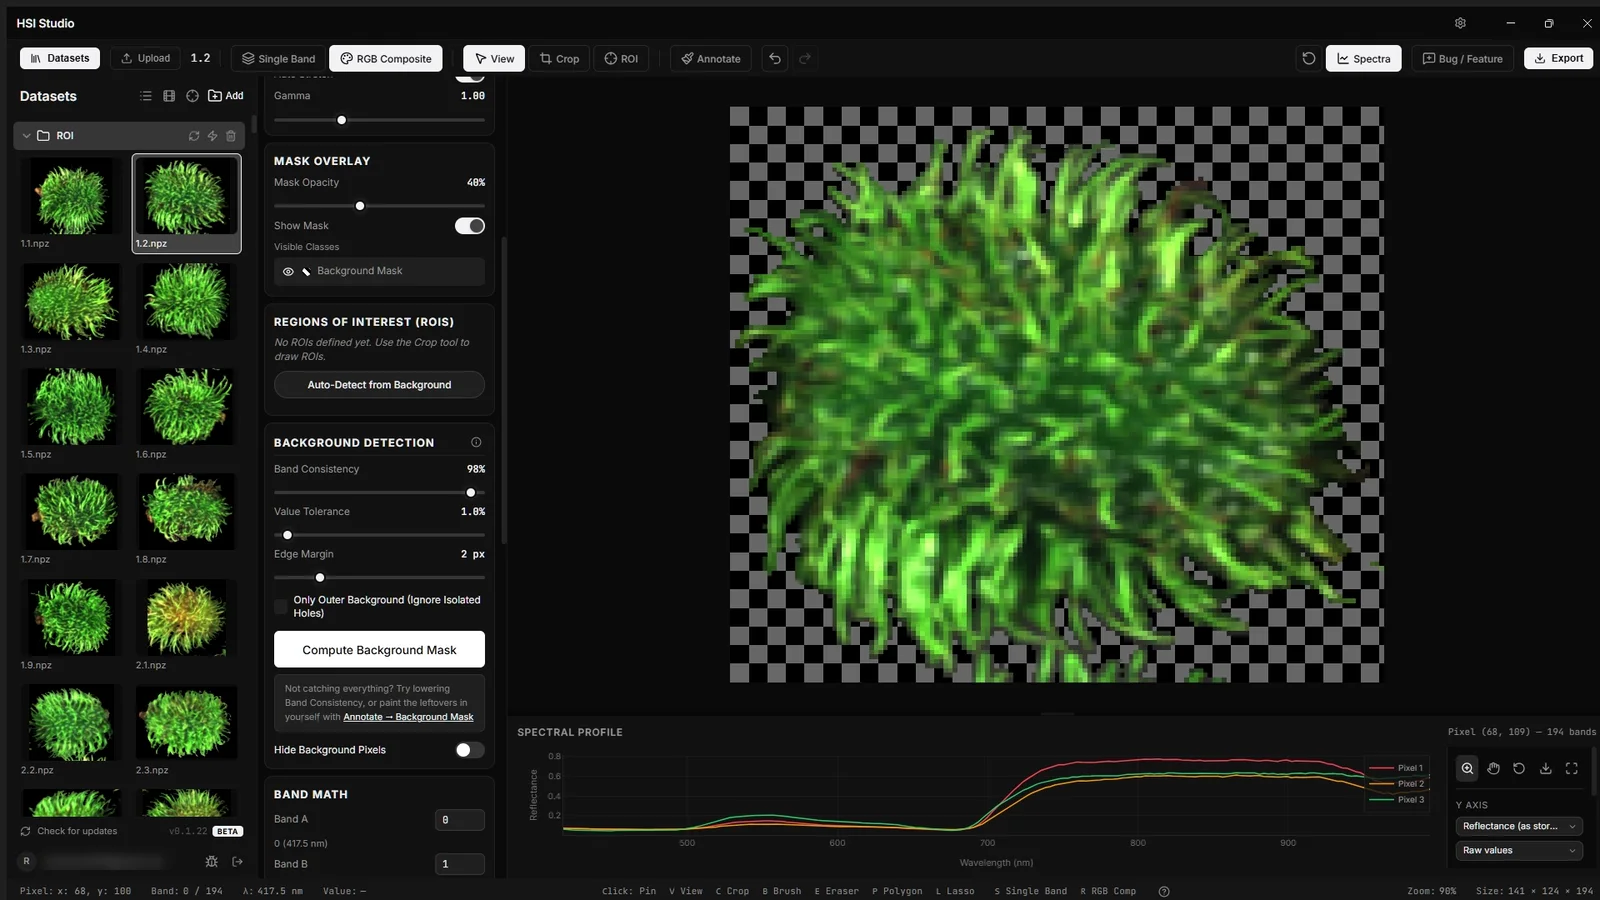
Detect Background finds those pixels automatically, and Hide background pixels removes them from the display, from class statistics and from training samples — so a large uniform background doesn't dominate every computation.
Regions of interest
An ROI is a named rectangle over the scene. Draw them with the rectangle tool and name them; they're listed in the sidebar.
Auto ROI detects each distinct subject in a capture and creates an ROI for each — the usual case being a tray of samples photographed together, where you want each specimen as its own file. It can order the detected regions left to right, in reading order, or largest first.
Batch ROI export writes every ROI out as its own file. The naming convention is configurable (default {imagename}_{roi_name}), and output can go to a folder, a zip, or back alongside the source file. See Exporting.
Cropping
Select the Crop tool, drag a rectangle, and apply. The cube is cropped to that region — all bands, all metadata preserved. Cropping is reversible: reset the crop to return to the full scene. Exports after a crop contain only the cropped region, which is usually what you want when you're isolating a specimen.